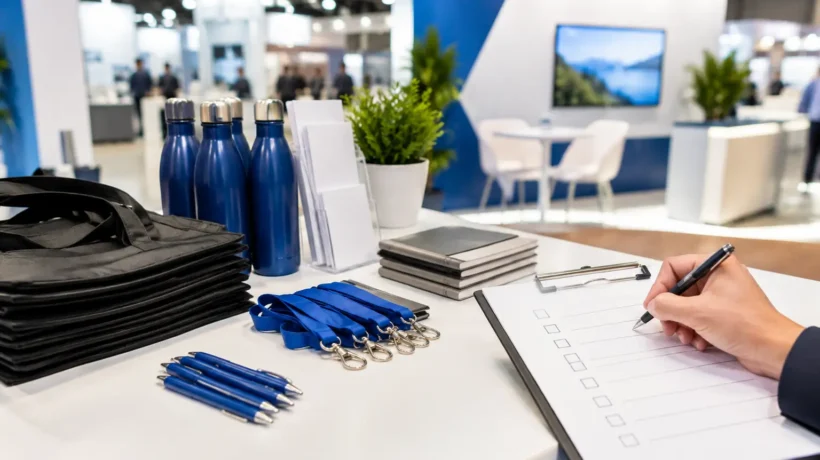
A polished exhibit can still lose momentum when the small, practical pieces are missing. A cable that will not reach, an uncharged lead scanner, nowhere to store literature, or a tired team without water can turn a strong brand concept into a stressful show day. This exhibit accessories checklist helps event teams account for the details that protect their investment, support meaningful conversations, and keep the space working as intended.
Accessories are not an afterthought. They shape how visitors move through the booth, how confidently staff members engage, and how much work your team carries once the show floor opens. The right mix depends on your exhibit footprint, event rules, audience, and objectives, but the planning principle stays the same: every item should serve the experience, the team, or the operational plan.
Start With the Booth Experience
Before packing supplies, walk through the visitor journey. What should someone notice from the aisle? Where will they stop? What will encourage a conversation, demonstration, or follow-up? Accessories should reinforce that path rather than fill empty space.
For a compact 10-by-10 booth, a well-placed monitor, literature holder, charging surface, and concealed storage may be all that is needed. A larger island exhibit may require multiple engagement zones, device mounts, café tables, directional graphics, and more deliberate traffic control. More accessories do not automatically create a better experience. Too many surfaces, signs, or giveaways can make an exhibit feel crowded and dilute the central message.
Brand-facing accessories to consider
Choose items that make the environment feel intentional and easy to navigate:
- Literature holders or display racks that keep collateral neat and accessible
- Branded counter wraps, table covers, and podium graphics that extend visual consistency
- Monitor stands, tablet mounts, and secure device enclosures for digital content
- Product pedestals, shelving, or lockable display cases for physical demonstrations
- Seating, café tables, or soft furnishings when longer conversations are part of the sales strategy
- Wastebaskets, coat hooks, and concealed storage that keep visual clutter out of sight
If the exhibit is rented, confirm which accessories are included and which must be added. Rental furniture and counters can create a premium, tailored look without adding permanent inventory, but colors, availability, and dimensions should be finalized early. A last-minute substitution may affect both the design and how the team uses the space.
Exhibit Accessories Checklist: Power, Technology, and Lighting
Technology has a way of becoming essential only after a show opens. Build a separate plan for power, connectivity, and device readiness instead of assuming the venue will solve each need on site.
Start with the show’s electrical order form and the exhibit’s actual power requirements. Consider monitors, laptops, tablets, product demos, charging stations, lighting, routers, and any equipment that must run continuously. Order power early when advance rates are available, then map outlet locations to avoid visible cords crossing the booth.
Pack or arrange the following as appropriate for the program:
- Approved extension cords, power strips, adapters, and cable covers
- Charging cables for every device, plus clearly labeled backups
- A dedicated hotspot or router when venue Wi-Fi cannot support lead capture or demonstrations
- Surge protection for sensitive equipment
- Batteries, chargers, and spare power banks for scanners, tablets, and mobile devices
- Cleaning cloths and screen-safe cleaner for monitors and tablets
Lighting deserves the same attention. Good light directs attention to products, graphics, and people. Poor lighting can leave even high-quality visuals flat or make a product demonstration difficult to see. Confirm what the venue provides, what is integrated into the exhibit, and whether additional spotlights require electrical service or installation labor.
Support the People Working the Booth
Your booth staff creates the impression visitors remember. Accessories that make their work more comfortable and organized also make the brand presence more consistent.
Prepare a modest staff kit with water, shelf-stable snacks, breath mints, hand sanitizer, tissues, stain-removal wipes, and basic first-aid supplies. These are simple provisions, but they prevent staff from leaving the booth at the wrong moment or scrambling for everyday necessities.
A secure, out-of-sight place for personal belongings is equally valuable. Lockable storage can hold bags, coats, extra collateral, staff supplies, and small electronics without turning a counter or back wall into a staging area. If the exhibit design does not include storage, add it to the plan early. Trying to solve this with loose bins after arrival usually compromises the visual presentation.
For events with long hours or a high volume of meetings, include a clear staffing schedule, a contact list, and a shift handoff process. Those are not physical accessories, but they belong in the same readiness conversation. A well-designed environment performs best when the people inside it know where materials are, who owns each responsibility, and how leads will be handled.
Plan for Lead Capture and Follow-Up
A busy booth is only valuable when conversations become usable opportunities. Whether your team uses badge scanners, tablets, QR codes, or paper forms as a backup, make lead capture visible, simple, and tested before the show.
Place devices where staff can access them without breaking eye contact or creating a bottleneck. A tablet on a secure stand can work well at a demonstration station, while handheld scanners give teams flexibility in a crowded aisle. The right setup depends on the sales process. For a complex B2B offering, staff may need space to record discussion notes and qualify needs. For high-volume traffic, speed and accuracy may matter more.
Include printed materials only when they support the next action. A one-page overview, product sheet, or meeting card can be useful, especially when a visitor needs something to share internally. Large stacks of broad brochures often become expensive leftovers. Digital follow-up can reduce shipping and storage, but it should not replace a practical way for interested prospects to remember why they stopped.
Protect the Exhibit and the Show Schedule
The best accessory plan considers the hours when visitors are not present. Move-in, installation, overnight security, and move-out create their own requirements.
Keep a small operations kit available with a tape measure, level, scissors, box cutter, permanent markers, zip ties, gaffer tape, Velcro strips, cleaning supplies, touch-up materials, and labeled storage bags. Check venue rules before packing adhesives or tools. Some facilities limit what can be used on floors or walls, and union regulations may determine who is permitted to install certain components.
Inventory labels matter, particularly for multi-show programs or custom exhibits with many parts. Label cases, shelves, graphics, electronics, and accessory kits by component and destination. Photograph the completed booth before opening day, including storage areas and cable routing. Those records make future setups faster and help reveal whether anything is missing before it becomes a problem at the next event.
If your program includes several shows each year, consider separating accessories into event-specific kits: technology, hospitality, lead capture, cleaning, and staff supplies. Managed asset storage can simplify this process by keeping components organized, inspected, and ready for the next destination rather than returning everything to an already crowded office.
Build the Checklist Around the Event, Not Habit
The most useful exhibit accessories checklist is not a static packing list copied from one event to the next. Review it against the show’s audience, booth size, venue requirements, staffing plan, and campaign goals. A product launch may need stronger display lighting and demonstration tools. A recruiting event may call for relaxed seating and takeaway materials. A regional show with a lean team may benefit most from a streamlined rental package and turnkey support.
Assign an owner and due date to every accessory category. Confirm what is being shipped, rented, ordered through the venue, carried by staff, or supplied by an exhibit partner. That simple distinction prevents duplicate orders, missed deadlines, and the familiar scramble to find one essential item after the freight has already left.
A memorable presence is built from the headline idea and the details that make it work. When accessories are planned with the same care as the exhibit itself, your team can spend less time troubleshooting and more time creating the conversations the event was meant to generate.